Search


Showing posts with label Recipes. Show all posts

Monday, July 7, 2014

Roadside BBQ Chicken

A few months back, we were driving home from the shore and passed a roadside BBQ chicken sale at a gas station.  I don't know if they do this at other places, but here....roadside/gas station BBQ chicken is AWESOME.  However, money is tight and  it costs about $15 for a platter......1/4 chicken, corn, bp, and some kind of bread.

So, I didn't even suggest it....but started using my smart phone to look for ideas.  I ended up combining a few and came up with something that is just gosh darn awesome and a pretty good approximation.

I have made it 4 times since that day.  My husband and I argue over the leftovers. I can't say that the photo does it justice, but it is finger-licking bunches of yum...and I took the photo after we ate 2 of the 4 breasts.


Roadside BBQ Chicken

Mix together the following:

  • 2 cups white vinegar
  • 1/2 cup Worcestershire sauce (for this I use store-brand because of the volume/cost thing)
  • 2 tbsp brown sugar
  • 1 tbsp celery seed
  • 1 tbsp garlic powder
  • 1 tbsp onion powder
  • 2 tbsp salt
  • 1 tsp black pepper
  • 1 tbsp hot sauce (sriracha, Frank's, whatever you like)
Divide this in half (probably a little over a cup and a quarter is half.

Put of of the halves in a seal-able bag with 4 whole (bone-in, skin-on) chicken breasts.  Let marinate for at least 2 hours.  I try to go for much longer.....like 6-8 hours.

To the other half, add 1/2 cup oil and save for basting.

After marinading, put the grill on high (we have a gas grill, so that's all the grilling info I can share). Wait 15 minutes, then put the chicken on skin side down and turn down to medium.  After 15 minutes, whisk the oil into the reserved liquid and baste the chicken, then flip it over (bone-side-down).  Keep it that way for the remainder of the cooking, basting every 15 minutes until the internal temperature is at lease 165F.  It takes about an hour.

If you want, you can baste the entire thing with a BBQ sauce of your choice for the last 5 minutes and flip so both sides get the sauce charred on.

Let the meat rest for 10 minutes after removing from the grill. 

Eat and enjoy!


Tuesday, May 13, 2014

Great spice rub

A couple of years ago, I came up with a spice rub that my family loves on pretty much any type of protein.  I generally mix it up in a large batch and then rub it over whatever meat or fish I'm cooking.  The sugar in it helps to caramelize the protein and provide a good sear. It works for grilling and for pan cooking.

1/4 cup sugar
2 Tbsp smoked paprika
1 Tbsp onion powder
1 Tbsp garlic powder
2 tsp salt
1 tsp pepper

Mix....rub......and mmmmm.

Friday, July 19, 2013

Tuscan White Beans

This week I have been reading A Thousand Days in Tuscany: A bittersweet adventure.


The jury is still out on the book for me.  It is very descriptively written...filling my mind with scenes and food imagery. At the end of every chapter, there is a recipe.

About a third of the way through, I found a recipe for some Tuscan white beans.  In the book and the subsequent recipe, they cook the beans in a bottle in the ashes of a wood fire all day.  However, that basically will never happen in my lifetime here.  I love to cook, but I'm not that dedicated to the authenticity of the whole thing.

But, after reading through it, I figured out a way that I could make it work with some changes to their recipe and some changes to the cooking method.

I made it today and the smell in the house was flat out amazing.  The beans were part of tonight's dinner and they frankly blew me away.  The ingredients were so simple, but the flavor was outstanding.  

I served the beans over some Italian bread...torn into chunks...and had some prosciutto to go with the whole Italian theme in my head. 

Tuscan White Beans
  • 1 lb dried beans
  • water
  • 2 teaspoons salt
  • few grinds of pepper
  • 1 tablespoon rosemary
  • 1 teaspoon sage
  • 4 cloves of garlic crushed
  • 1 cup olive oil
  • 1-1/2 cup white wine
Start by soaking the beans.  I use the quick-soak method ....cover with cold water, cover pot, bring to a boil, turn off, leave covered for 1 hour, drain, rinse.  Or, you could cover with water and soak overnight.

After the beans are presoaked, put in pan and cover with fresh water.  I use a pressure cooker for this.  With the pressure cooker, you lock the lid on, bring it to pressure, reduce heat, cook for 10 minutes, release the pressure, drain, and the beans are ready to season.  If you don't have a pressure cooker, you can put in any pan, cover with water and cook covered for an hour or so until the beans are tender.  Both ways work equally well, the pressure cooker is just super quick.

I then put the beans in my slow cooker; added the salt, pepper, rosemary, sage, garlic, white wine, and olive oil; and cooked on high for 4 hours. And done!!!!!

If you don't have a slow cooker, you could just drain the beans (again); add in the seasonings, wine, and olive oil; add in 2 cups of water (you'll need more moisture cooking on a stovetop); and cook covered on the stove top for 1-1/2 hours.

Simple ingredients.....amazing taste.

Monday, July 8, 2013

Homemade Chicken Stock in a Slow Cooker

I use my slow cooker for TONS of things. One of the really cool things I found is that you can use it to make homemade chicken stock.

It’s super easy to do and the difference is amazing. While I certainly don’t use homemade chicken stock for everything, it’s a really nice thing to be able to do with leftovers and it really ups the recipe results when I do.

Last week I made some using the leftovers from a store-bought rotisserie chicken that I had picked up for a quick dinner.

Clean most of the meat off the chicken. Save the bones. If you can’t/don’t want to do the stock right away, put the bones in a bag in the freezer until you are ready.

Put in slow cooker.  Add a peeled and quartered onion, 2 or 3 peeled carrots, and some peeled garlic cloves.  I can’t stand celery, so it’s never in my house, but you can add a few stalks of that too. Cover with water.  


Cover slow cooker and cook on low for 6—8 hours.  It will look something like the photo below. Note the difference in the deeper color to the liquid and the "cooked" look to the vegetables, etc.


When done, cool just until you can handle the crock insert. Strain the liquid. I line my colander with paper towels (see below) and slowly pour it through.
  

I stop occasionally to discard the solids that stop the liquid from flowing through. Replace the paper towels and re-strain a second time.

At this point, you can chill the whole container to skim the fat off the top, or just leave it in.  As you can see, there isn't a ton of fat in it. Just that small rim at the top.


Add salt to taste. Super important. Will taste horrible without adding salt.

The color of homemade stock is amazing.  Just look at that photo above and the one below.  It looks NOTHING like the watery yellow stuff that comes from the can, cube, or powder.  And the flavor is above compare.

I divide it up into small bags with 1 cup in each bag and freeze it. Then when I need some for a sauce or recipe, I just thaw it and use.

Try it.....you'll be impressed with your cooking prowess.


Thursday, May 16, 2013

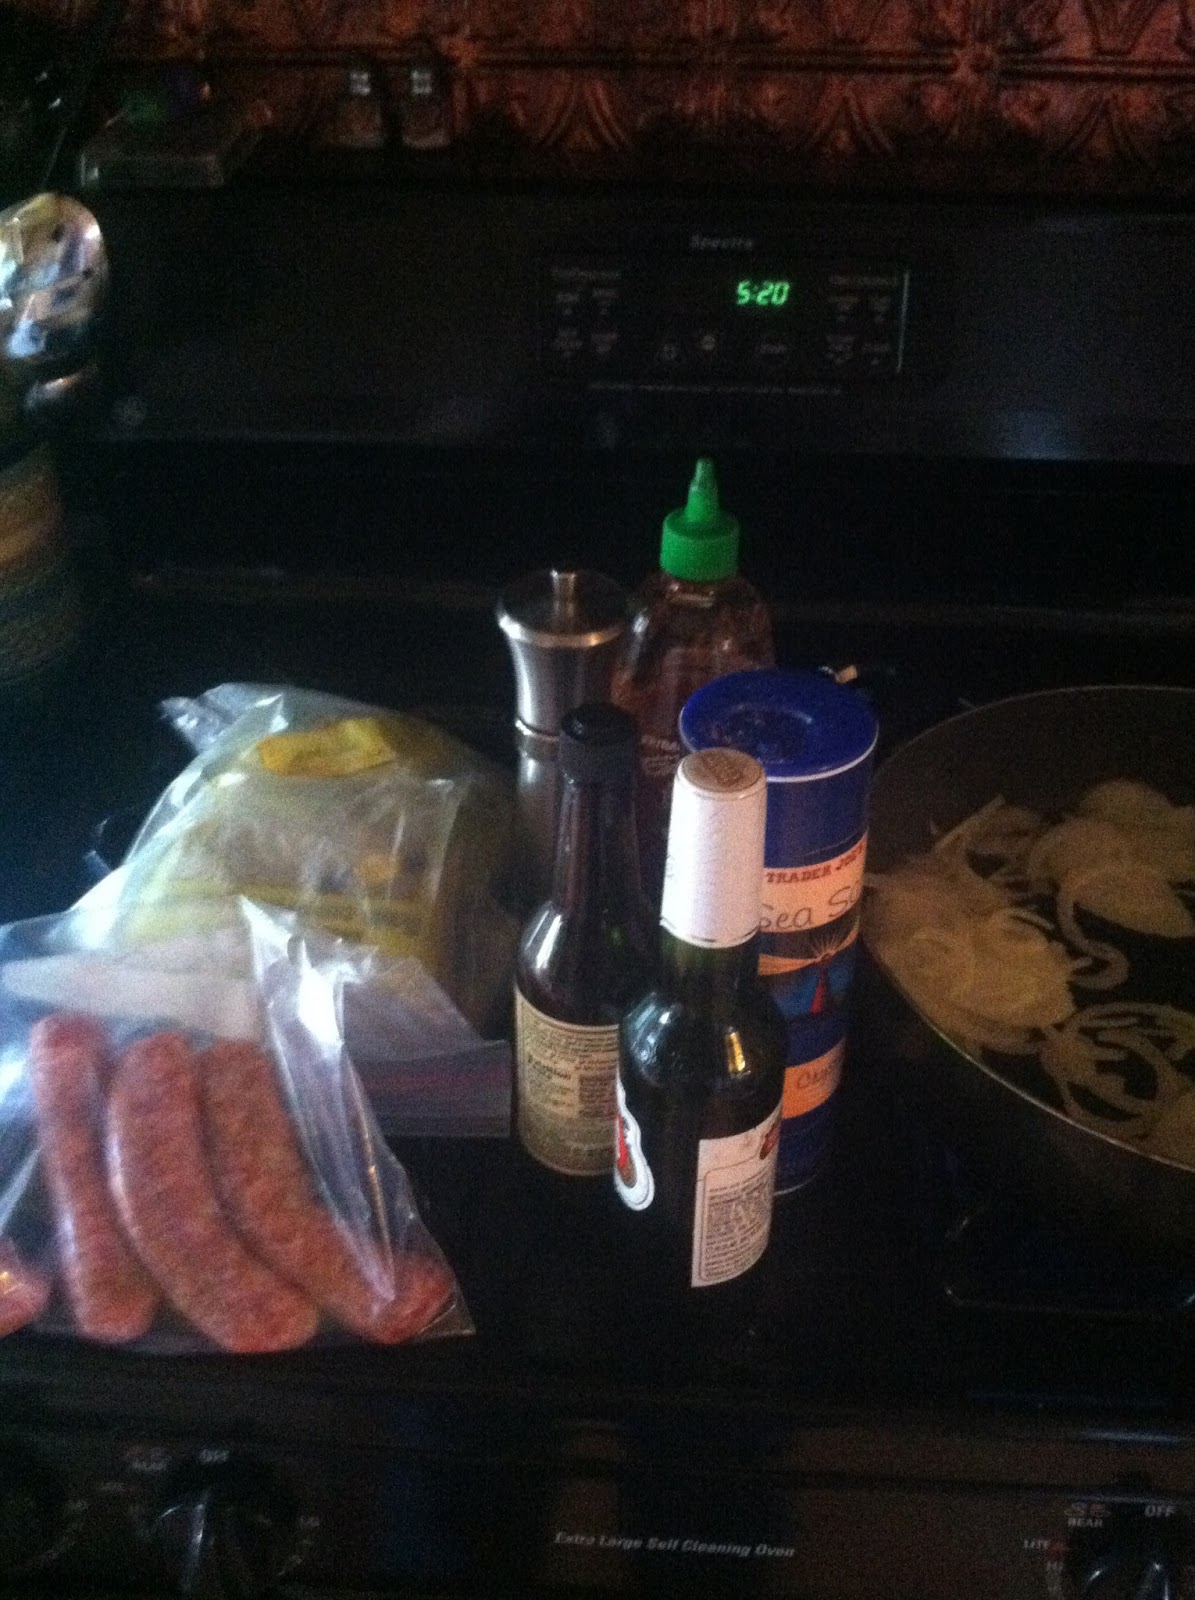
Beer braised sausage and onions

This is one of my husband's favorites.

Ingredients

  • 1 lb sausage (sweet or hot)
  • 1 large onion thinly sliced
  • 1 tsp oil (I always use olive oil)
  • 1 Tbsp brown 
  • 1 tsp salt
  • 1/2 tsp pepper
  • 1 tsp hot sauce (I used sriracha)
  • 1 tsp worchestershire
  • 1 beer (almost anything on hand is fine)


Heat the oil in a pan and add the onions.  Cook the onions until they are translucent and just starting to caramelize.  They should look something like below.


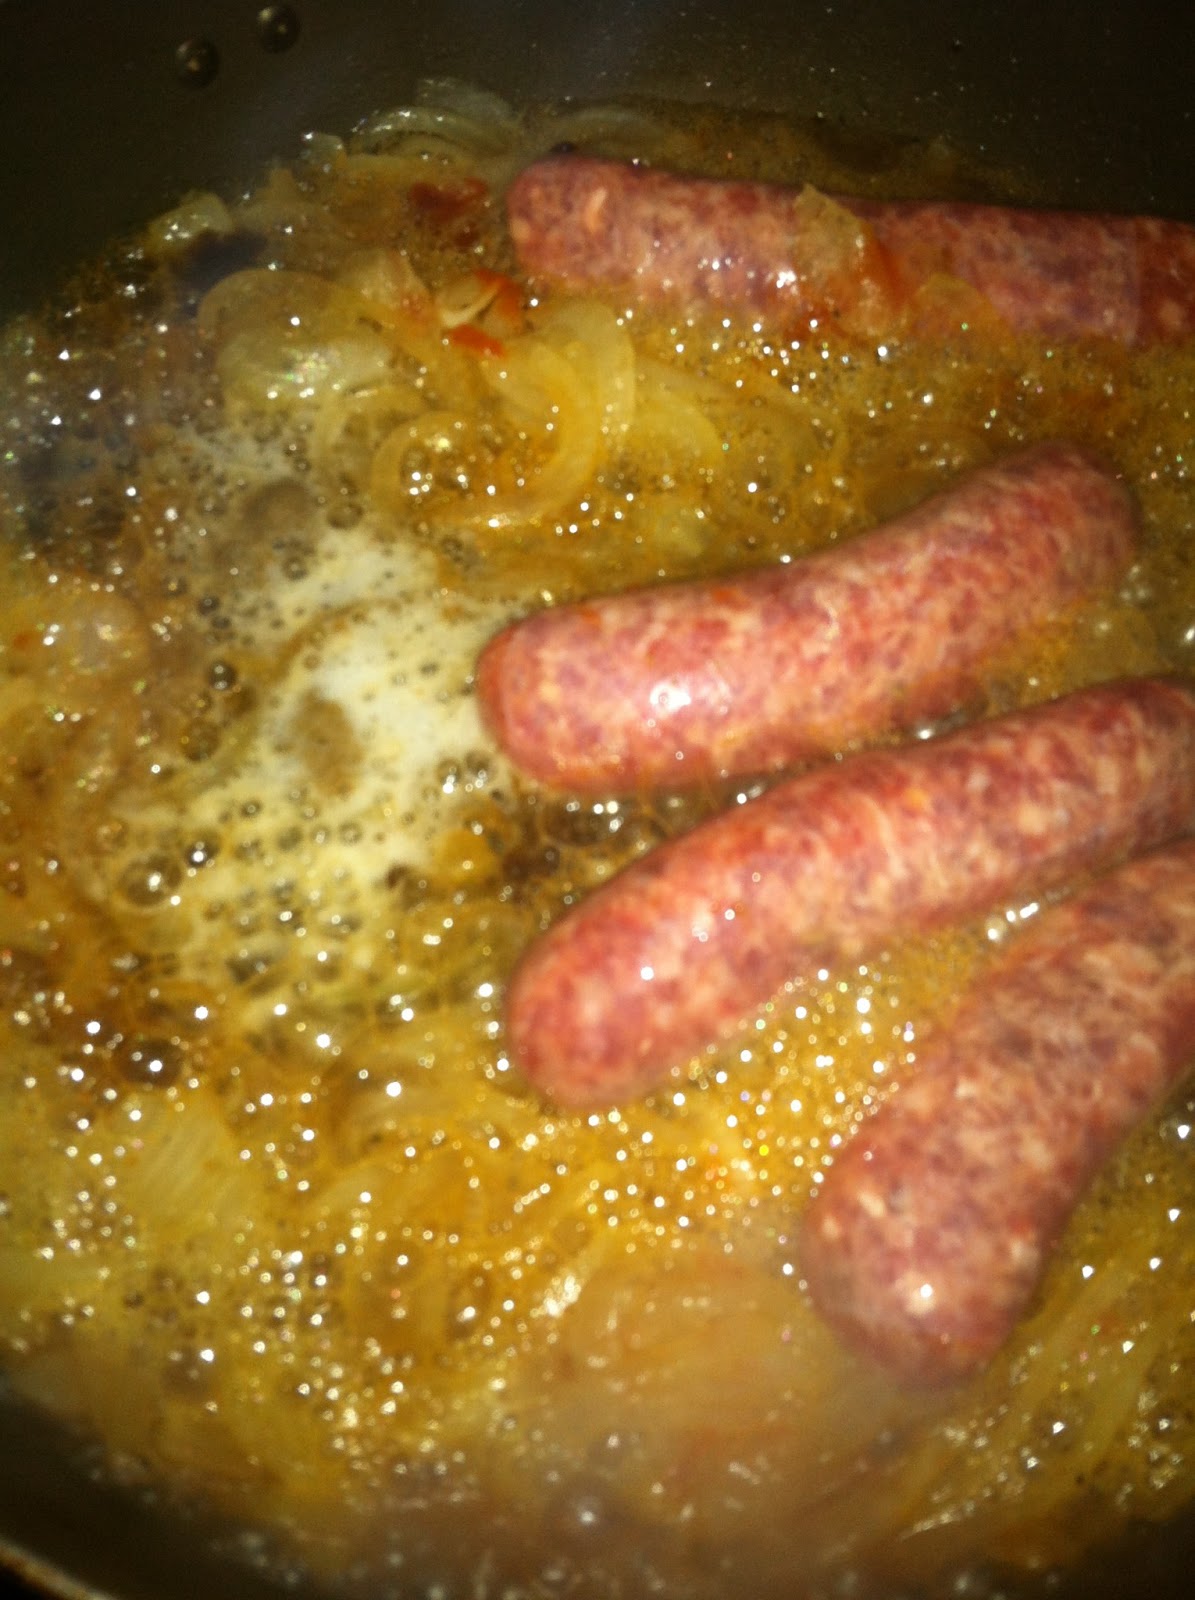
Add in the salt, pepper, brown sugar, worcestershire, hot sauce, and sausage.


Add the beer and stir it all together.


Cover and cook 20 minutes.  Turn sausage about half-way through.

After the 20 minutes, remove cover and let the whole thing reduce a bit (about 5 minutes).


Can serve over mashed potatoes or in a roll.  YUM.

Saturday, May 4, 2013

Cinco de Mayo is coming

Tonight while pre-cooking something for Cinco de Mayo, I splashed some bean cooking liquid in my eye.  I put it on FB and a friend asked for the recipe.  So much for sympathy, right ??? ;)

But it got me to thinking.  The particular meal that I am making is one of my and my sweet husband's favorites.

A couple years ago, I combined a few things I'd come across and made one of the best meals I have ever eaten.....let alone cooked.  It was SO GOOD that I went into a food depression for a while.  I felt like I had created the best thing I was ever going to cook, so why bother with anything else.  It really had me bummed.

Luckily I have come across some other things that have also become my "best thing ever."  So, the food depression is over.

But, here is my Cinco de Mayo meal....started in advance.

BLACK BEANS
Originally, I found a recipe for Black Beans on Homesick Texan.  But, at this point, I have made enough changes that I almost consider it my own.

Here is how I make the black beans.

You will need:

  • 1 lb dried black beans
  • water
  • 1 large onion, chopped
  • 1 carrot, grated
  • 6 garlic cloves
  • 1 tbsp chipotle powder
  • 1 tbsp cumin.
  • 3 cups of low sodium chicken broth
  • 3 tbsp bbq sauce
  • 4 tbsp lime juice
  • 1 tsp salt


Take 1 lb of dried black beans.  Put them in a 2 qt or larger pot.  Cover them with water and cover the pot.  Bring to a boil and turn off, leaving them covered and on the burner.

After an hour, drain and rinse and they are ready to use.

In a pressure cooker, saute up 1 chopped onion in 1 tbsp of olive oil.  While that's cooking, grate 1 carrot.  Also, clean 6 cloves of garlic and run them through a garlic press.  After the onions start to caramelize a bit, add in the grated carrot and pressed garlic.  Cook for 2 minutes more.

Add in 1 tablespoon chipotle (1/2 tablespoon if you don't like spicy beans) and 1 tablespoon of cumin.  Saute for 1 more minute.

Add in 3 cups of low sodium chicken broth and the drained and rinsed beans.

Put lid on pressure cooker.  Lock in place.  Bring to pressure and cook for 10 minutes (maintaining pressure).

After 10 minutes, turn off. and let cook until pressure drops.  Add in bbq sauce, lime juice, and salt.  Cook uncovered for 30 minutes.  Mash about half of the beans and it's ready to serve.

BEER BRAISED PORK IN SLOW COOKER

Really simple.


  • pork roast
  • salt and pepper
  • splash of hot sauce
  • can of diced  green chiles
  • 12 oz bottle of beer
Put pork roast into slow cooker. 
Add salt and pepper to taste.  
Add splash of hot sauce.
Top with entire can of green chiles.
Pour beer over whole thing.
Cover and cook on low for at least 6 hours or high for 3.
Shred meat and serve.

HOMEMADE TORTILLA CHIPS

Preheat oven to 425.
Use pizza cutter or kitchen scissors to quarter tortillas.
Brush with olive oil.
Sprinkle with salt.
Bake at 425 for 9 minutes.


Tuesday, March 12, 2013

Chicken Mole Casserole

I am always messing around with cooking.  Sometimes it works....sometimes, it doesn't.  My sweet husband tells me that it works almost all the time....he's supportive that way.

Chicken Mole Casserole is something that I made up one day when I didn't feel like making whatever I had for dinner.  It's kind of like a lasagna....but with Mexican substitutions.  And, it's tomato-free....because I can't eat tomatoes.

Chicken Mole Casserole


  • 12-inch tortillas; I used 12 total
  • Don͂a Maria Mole sauce
  • 8 ounces light sour cream
  • 8 ounces Mexican blend cheese
  • 2 cups of precooked chicken (The day before, I toss frozen chicken breasts in the slow cooker with salt, pepper, and a half cup of chicken broth.  I cook on high for 3 hours then shred.)
Make the mole sauce.  The Don͂a Maria sauce comes as a thick paste.  The instructions say to use a 4:1 ratio of broth to the paste.  I use chicken broth (32 ounces) to the 8 ounces or the mole paste.  You simmer until thick.  This is the end result.


After the sauce is made, use my kitchen scissors to cut the tortillas into quarters.  I cut 4 at a time.


Put 1/4 of the mole sauce on the bottom of the pan, just as you would with a lasagna.


Place the quartered tortillas over the sauce to cover the bottom.


Put the shredded, precooked chicken on the tortillas. 


Top with 1/3 of the remaining sauce, and 4 ounces of the light sour cream.  I do it in dollops about in the center of each of the 12 servings.


Top with 1/3 of the Mexican cheese mixture.


Repeat layer.  Then top with a final layer of tortilla, mole sauce, and cheese.


Cover with foil and bake at 350F for 30 minutes.

Final product!  It's not pretty....but it's yummy!!!!


Sunday, March 10, 2013

Homemade Tots???

The other night I went out with good friends....who teased me about making homemade tots. It was all in good fun. Can't you just buy them at the store and stick them in the oven??? Isn't the point of having tots to make an easy dinner?????

While I do like to cook and make food...and I generally space the cooking out throughout the day, making your own tots is super simple...it takes about 5-10 minutes total...and the difference is YUM!!!

I found the recipe originally at The Yummy Life and I made a couple of changes and added specifics for our taste buds.

Here's how I do it for dinner for 3....me, the husband, and the little guy (big guy is at college). If you have more, double it.

Homemade Tots 
1/2 bag of frozen shredded potatoes (thawed - either in the microwave or on the counter or in the fridge)
1/2 cup of green onions (I just use the green parts because I grow mine in a glass on the counter)
1 tsp salt
1/2 tsp pepper a couple shakes of garlic powder
1/2 cup parmesan cheese (straight out of the can works fine)
1 TBSP olive oil Preheat oven to 425F.


  • Toss mixture together (I use my hands...washed, of course). 
  • Place mixture loosely into mini muffin cups. 
  • Don't pack down too much. You don't want them to be too dense. 
  • 1/2 a bag of potatoes made 20 mini-muffin-sized tots. 
  • Put into preheated oven. 
  • Cook for 30 minutes. 
  • Remove from oven.


 I run a table knife around the edges to loosen, but they come out fairly easily.


 Enjoy!!!!

Wednesday, February 27, 2013

Chicken Pad See Ew

I love, love, love Asian cooking. It's not all I do, but the flavors just make me happy. Luckily, they mostly make my husband happy too. A few months ago I ran across a recipe in Cooks Illustrated for Stir Fried Noodles. I have adapted it a little to suit my taste, but it's REALLY good. Every time there are leftovers, they rarely make it past 24 hours.

Once I do the prep work...here and there throughout the day, it is a quick and easy dinner.

One of the ways they determined to make the chicken tender was to put it in a baking soda solution.  It changes the pH.  That change makes it cook quickly but stay tender....really tender.

This is what my finished yumminess looks like.


Ingredients
Chile vinegar - this is added to preference in each bowl after serving
1/3 cup rice vinegar (I use seasoned because I love the hint of sweetness against the spicy)
1 teaspoon sriracha
Mix together in a small container and let the flavors blend.

Prep for stir fry
2 lb chicken breast (sliced thinly)
1 teaspoon baking soda
1/4 cup water
Mix together.  After at least 15 minutes, drain, rinse, pat dry with paper towel

Sauce
1/2 cup oyster sauce
3 tablespoons soy sauce
1/4 cup brown sugar
2 tablespoons rice vinegar
2 teaspoons molasses
2 teaspoons fish sauce
Mix together in a small bowl.

Other ingredients
3 eggs (lightly scrambled)
3 cloves of garlic minced (I use a garlic press)
1 lb broccoli cut into small florettes
1/4 cup oil (I use olive oil for pretty much everything)
8 ounces large rice noodles

The how-to
After all the prep work is done.

Heat 6 cups of water to boiling ( I do mine in the microwave for 4 minutes).  Add rice noodles and let soak (needs to be for about 10 minutes (which is about how long the rest of the dish takes).

Heat a nonstick pan over high heat.  Add 2 teaspoons of oil and garlic.  Cook until garlic is golden...but not burnt.

Add 2 teaspoons of oil, 4 tablespoons of sauce, and drained/dried chicken.  Toss in sauce/oil mixture and then DO NOT STIR.  After 2 minutes, stir pan and flip pieces over.

After 2 more minutes, push chicken to one side of pan.  Add 2 more teaspoons of oil on empty side..  Pour lightly beaten eggs into oil.  Scramble eggs  Just as they are getting firm, mix in with cooked chicken.

Empty pan into large bowl.

Add 2 more teaspoons of oil to the now-empty pan.  Add 4 tablespoons of sauce and broccoli.  Toss both together and cover pan for 4 minutes.  Uncover pan and toss broccoli again.  Cook for 2-3 more minutes.

While cooking, drain the rice noodles.

Add to large bowl with chicken/egg mixture.

Add 2 more teaspoons of oil and 4 tablespoons of sauce to again-empty pan. Add in 1/2 the rice noodles.  Toss together and cook (without stirring) for 2-3 minutes. Add to large bowl.  Repeat with remaining oil, sauce and noodles.

Toss all ingredients in large bowl together and serve.  Top with vinegar mixture to taste.

Seriously my favorite meal.


Saturday, February 23, 2013

Make-Your-Own-Pizza Night

Tonight I had my best-friend-of-26-years' 3 children over.  Including my little guy, the 4 kids ranged in age from 7 to 13 years.

I love having them here!!! The oldest (a boy) is developing a love for cooking and he and I have been doing some cook stuff together lately.  Tonight for a fun snack, I taught him how to make eggrolls and we did some cheesesteak eggrolls.  I figured they would be a hit...and they were....even with the semi-vegetarian-I-don't-like-beef 9-year-old girl.

Before that though, I went to my favorite meal that makes EVERYONE happy.....make-your-own-pizza night!  I make the dough at least two hours before I need it...but, this particular dough can be kept in the fridge for up to 2 weeks...and used straight from the fridge!!!!

For toppings, I pull together some basics...plus whatever's in my fridge.  Tonight the options were...mozzarella cheese, cheddar cheese, gorgonzola cheese, parmesan cheese (canned), olive oil, red sauce, bbq sauce, pepperoni, olives, scallions, red onions, chicken (left-over from the other night), and mini meatballs (from Trader Joe's). Sometimes I have left-over buffalo chicken, or use Trader Joe's frozen chicken strips, or pulled pork, or bbq chicken etc. You get the idea.

Our kitchen is small, so I call people in two at a time to create their masterpiece. Everyone is happy, everyone has fun, everyone eats!!!!  I have also done this for entertaining families.

The super simple dough is below.  This recipe made enough for 6 personal pizzas, with enough left over for a loaf of fresh-made bread....to come sometime later this week.

Tracey's Pizza/Bread Dough


  • 2-3/4 cups lukewarm water (about 105 degrees)
  • 3 tablespoons of honey
  • 1-1/2 tablespoon yeast (2 packets)
  • 1-1/2 tablespoon of salt
  • 1/4 cup olive oil
  • 6-1/2 cups flour
In a large bowl, dissolve the honey and the yeast in the water.  Wait 5 minutes.  Add salt and olive oil.  Stir.  Then add in flour.  You may have to work in the last bit of flour with your hands.  There is no need to kneed the dough, just use your hands to get that last bit incorporated.  Cover loosely with a plate, plastic wrap, or tea towel. Let it rest on the counter for at least 2 hours.

It will look something like this.


If using immediately, tear off a handful and shape into whatever type of pizza you would like.  We usually do oval/oblong because I can get more on the cookie sheet that way. Use more flour as needed as you're shaping.  The dough is very sticky if it hasn't been refrigerated, but that doesn't affect the final taste or texture.

If using much later in the day...or even later in the week, punch down and put into a large container with a lid and place in the refrigerator.  When ready to use, remove the portion you need and shape.  Can be baked immediately.  No additional rise time is needed.  

This lasts 2 weeks in the refrigerator.

When baking, bake at 425-F for 10-15 minutes....or until desired color.