Search


Showing posts with label DIY. Show all posts

Sunday, April 28, 2013

Lettuce pallet garden

So, somewhere in my travels, I saw this cool idea to use a pallet to grow things that don't need huge root systems.  One of the items I saw in a pallet was a lettuce garden.  I can't find the exact picture I have in my head that I saw.  It could have been in a website, or a book.  But, it looks something like this.....


So, I researched....like always. Found a variety of instructions.  Mentally compiled and decided to give it a go.

I used one of my donated pallets.  I checked to make sure there was no pressure treated stamp on it.  Don't want arsenic in the lettuce.

So, I put it where I want it to be...because there is NO WAY I am going to move a pallet full of dirt.


I used landscape fabric.  I unrolled it so that it draped on the ground and cut it 6 inches past.  Then I lined up the edges with the edges of the pallet...and started in with the staple gun.


Because the landscaping fabric didn't cover the entire half.  I had to repeat the process with the other side.


Then I turned it on its side and stapled the "extra" to the bottom to create an envelope.

I filled it from the top with dirt.  Then I planted the seeds.


I did the top left side with buttercrunch and the top right side with spinach.  Then the 1st row, I filled with a mesclun mix and the second row, with arugula.

I am planning on doing another planting in 2 weeks to keep the lettuce going in waves.  And I will probably put some herb seeds....maybe mint....in too.

Keeping my fingers crossed.


Wednesday, April 17, 2013

Putting in my new garden - Part 2

Now that I had decided that a garden MIGHT be helpful in more ways than just growing food, I had to really sit down and figure out the how.

I wanted to do it as cheaply as possible.  What I really wanted to do was buy lovely cedar and get someone to build it for me with cute posts with caps on each end.  Something like this......

However, you'll note the price on this lovely thing is $314.95 for a 2x8 bed.  Considering that the area I wanted to cover....I mean use......is 2x40, that would mean 5 of those lovely things.  The total...$1574.74!!!!!  And that didn't include dirt or plants.

NOT quite the cheap way I'd been hoping to go.

Then I looked into pallet wood and concrete blocks.  I like the free price of the pallet wood....but not the look.  And getting enough concrete to go around an 80 square foot garden was still on the upper end of what I hoped to spend.

I did look into the fear that pallets have chemicals from pressure treating.  They used to.....YEARS ago.  The newer pallets have to be labeled.  

Finally, I settled on a half and half thing.  I decided to use wood pallets to create the back wall of the raised bed....because I am SURE that my *lovely* neighbors won't be bothered by the unattractivness of my makeshift wall.

I put in my FB status that I was looking for pallets.  Two neighbors replied and kindly even dropped them off to me.....I TOLD you the rest of my neighborhood is awesome!!!!!! I ended up with 8 total.

My sweet husband (SH) and a friend of ours spent half a day breaking them down.  SH and I tried doing it the "old fashioned" way of using a crowbar and mallet.  It took us (SH doing most of the work) an hour to get 4 pieces of wood off.  While free, I was starting to question the wisdom of using the pallets.

Then our friend stopped by to drop his son off to play with ours....our way of keeping the native happy while we were busy....two boys are more occupied than one.

He had a brilliant idea.....use a circular saw to just cut down the side of each stud.  It worked AWESOMELY.  In an hour, they got me a nice pile of pallet slats to use and a pile of the studs that we are going to use in our firepit.

Now, what to do with the wood.  I'd seen all kinds of idea, but they were mostly to build small boxes out of..

Finally, I came up with a concept.  I cut some of the pallet boards in half.  Then I hammered two of them into the ground parallel to each other, slotted the pallet boards down into it and screwed the front and back boards together with the long pallet boards in between.  The pictures below should give you some idea of how I did it.  (Please note the trash in the background of the photos is NOT on my side of the fence.)

The cut boards driven into the ground with the longer boards slotted down into the channel


A front view of the joining between two sections after the screws were put in.
A view of several assembled sections.

Top view of the wood slotted into the channel (thank heavens I had my toes painted, right?????)

It took me about 3 hours total to do 40 feet of this.  But the first hour was spent doing just the first section.....I had no idea what I was going to do when I sat down.  There are 13 sections total covering the 40 feet.  I got the remaining 12 sections done in 2 hours.  

Not bad for a crazy girl and a pile of free wood.

For the front side of the bed, I went with concrete blocks.  I picked out some that were 6x8x16.  My hope is to use the front cubbies to plant flowers and herbs.

I measured out 24 inches from the stud in the ground for my back wall and placed the cement blocks.  The 24 inches is to accommodate two rows of square foot gardening...a taller or vertical row in the back and a lower growing plant in the front.

As you'll see, some of the ground isn't even.  So I just used some of the compost dirt underneath to raise up the sections that were all crazy.


The cost for doing 40 feet on the front and the two 2-foot side walls, came to about $50.


Tuesday, April 2, 2013

Making your own laundry detergent


About 3 years ago, my sister told me that she’d been making her own laundry detergent to save money.  I came away shaking my head.  Was she NUTS?????  I mean, REALLY!?!?!?!?!  It’s not like it costs THAT much.  If you watch the sales, for $10, you can get a supply that lasts about a month.

On the drive home, my friend of 25 years was with me.  I commented that I thought my sister had gone too far in cutting costs...typical older sister that never gives the younger ones credit for anything, right?  My friend replied that she actually thought it was a fantastic idea.

I then proceeded to think them both insane.

About a month later, I kept thinking about it.  I did a little research.  Shockingly, I only found positive reviews. 

So, I caved and called my friend and told her I was thinking about it.  She was excited beyond belief because she had been thinking about it too.  I shared with her the info I’d found and we decided to split initial costs.  We both spent $7 and gave it a shot.

I didn’t mention it to my family…my husband then played in a band, and my oldest was a teen at the time.  I figured that if no one noticed any change in the cleanliness of the clothing, that was a win.

Two-and-a-half years later, I couldn’t be happier.  In addition to my initial investment of $7, I have spent $5 more.  $12 for 2-1/2 years of clean clothes.  Buying it on sale would have cost $300.  CRAZY how much of a savings it has been.

And the time cost is negligible.  It takes me 5 minutes to grate the soap.  Another 5 to simmer it.  Another 5 to measure everything and stir.  Then I let it rest overnight and it’s good to go.  Each batch lasts me about 3 months.  Not bad for 15 minutes of work.  

AND, it works for high-efficiency washers, too!!!! My friend that I split the start-up costs with has a high-efficiency washer, 3 kids who play sports, and a husband who works weekend construction.  It really works.

And….YES.  I was a big girl.  I called my younger sister and told her I thought it was a GREAT idea!

Here is what you need:
NOTE: I am allergic to Ivory, which was recommended, but oddly all the things I found remarked that the mixture made with Ivory was lumpy; with Dove, it’s not. Finished product looks like the real thing.
  • 1 cup Borax
  • ½ cup Washing Soda
  • 6 quarts of water total
  • Grater
  • Sauce pan
  • Water
  • Container that will hold 6 quarts [I use an empty (clean) cat litter container]


Grate the bar of soap...Typically I have always used plain, white Dove, but this time, my sweet friend picked up the soap for me at a local farmers market.


For the grater, I use a regular cheapo grater that I picked up at my local Swedish store.


Put into a sauce pan and cover with water (about 1 quart of water).  


Heat over medium heat until soap is dissolved.  Do not let boil and stir occasionally.


Pour mixture into your container.  

Add in the 1 cup Borax and 1/2 cup Washing Soda.  I keep mine in zipper bags with the amounts written on it so I don't have to check every time.


Stir until dissolved.

Add 5 quarts of water.


Let rest overnight and it will be ready to use!


Wednesday, March 20, 2013

Make Your Own Yogurt - Traditional or Greek

My son eats yogurt like CRAZY.  On a weekly basis, he probably eats 3 quarts of it....by himself.  My sweet husband and I both like Greek yogurt. In addition, for the last year, I have used it in place of almost everything that calls for sour cream (save heated dips....which it does not work for).

All in all, I probably was spending about $20 each week on yogurt.  Crazy, but it's healthy....and how can I talk my boy into cutting back on eating something

Years ago (like 15????), I bought a counter-top yogurt maker at a garage sale, but got confused by the instructions and gave it away to GoodWill a couple of years later.

But, with spending that much on yogurt, I decided that it was time to figure out if I could do it on my own.  And.....ta-dah!!!!!!  I CAN!!!!!!!!!

For the cost of a gallon of milk (about $3.50 where I live), plus the cost of 2 boxes of generic vanilla or banana pudding ($0.62 each X 2 = $1.24), and 1/2 cup of sugar ($0.08????), I can make 3 quarts of regular yogurt or a quart and a half of Greek.....total cost 4.82.  Buying at the store, the same volume would cost me about $11.37 for the traditional yogurt or $9 for the Greek yogurt.

Keeping on with the math, that's a 58% savings for traditional yogurt and 54% savings for Greek yogurt.....unless I am doing my math wrong.  It has been a while and this whole "new" math thing has me confused. ;)

While the whole process takes a long time, the actual time invested is minimal.

Here's how I do it.

I start with 1/2 gallon of skim milk at a time....I might be able to start with the full gallon and use a bigger pot....but I've never tried it.

Measure out 1/2 gallon of milk.  Remove 2 Tablespoons of milk and put into a small bowl for later.  It's OK to leave this out on the counter.

I heat the milk over medium high heat, stirring constantly.  It takes about 7-10 minutes, and I get bored quickly, so I read a book while I'm stirring.


When the temp reaches 180 degrees F, turn heat off.


Immediately pour into large, room-temperature bowl.  It is still, hot, hot, hot....as you can see by the steam rising off the heated milk.


Wait until the milk cools to between 110 and 105 degrees F.

While milk is cooling, preheat oven to 150 degrees F.


Then take the reserved 2 Tablespoons of milk and add in 3 Tablespoons of yogurt that contains live cultures.  The first time I did it, I used store-bought yogurt, but from then on out, I just take 3 Tablespoons out of every batch and put it in a small container to use as the culture for the next batch.

To tell if yogurt has live cultures, read the ingredients label.  Most commercial yogurts just say "cultured yogurt" or "cultured milk"....that doesn't count.  Look for the ones that actually list them....L. bulgaricus, S. thermophilus, L. acidophillus, Bifidus, etc.

There are some that just say "live active cultures," but I figure if you can't list them specifically, you're just making it up.

You can find more info on live active cultures here.


Stir the reserved milk/live culture yogurt mixture into the 105-110 degree F milk.  Make sure to combine throughly.

Cover container and place into preheated oven.


Turn oven off, turn oven light on, and wrap covered bowl in a towel.  The light on and the towel will help keep the temperature what it should be for the cultures to grow properly.


The mixture needs to rest/culture for at least 8 hours.  I typically do this at night before bed and then move on to the next step in the morning after I get the little guy off to school.  

This is what it looks like the next morning.  Not sure how well the picture turned out, but I tilted it sideways a bit to try and show the yellowish liquid on top.  That is the whey.  The rest is a VERY soft pudding-like consistency.


Then I line a colander/strainer with a thin tea towel.  A lot of what I read said to use cheesecloth.  For me, cheesecloth isn't re-usable...and would have added to my cost.....NOT my goal or in keeping with how I feel about using re-usable items.  So, this is a thin tea towel that I purchased at IKEA.  It's got a loose, supple weave and I wash it before...and after in a laundry load with bleach.  So, I'm not worried about any contaminants.


Pour the cultured milk (now really yogurt) into the strainer and liner.  Put the strainer in a large bowl.  I use the one that I just cultured the milk in over night.


Put the cover back on and place in the refrigerator. 

For traditional yogurt, let it strain/drain for 8 to 10 hours.

For Greek yogurt, let it strain/drain overnight.

The liquid in the bottom is called whey.  There are uses for it.  I have tried one...making sauerkraut....and I have a quart of it in the fridge to try bread with...but have yet to get there.

Set aside 3 Tablespoons of the yogurt for the next batch.

If you want to flavor or sweeten your yogurt, now is the time.  For my little guy, I use a pudding mix and extra sugar.  I was shocked how much sugar it took to make it taste like the store-bought stuff.  My hope is to dial back the sugar a teaspoon at a time and hope that his taste buds adjust to the slow decrease.

For me and my husband, we just use the Greek kind without additives.

Place your yogurt in a clean container. 

Refrigerate and enjoy!


Saturday, March 2, 2013

DIY Bokashi Composter

For the past year I have been researching composting methods.  I have a VERY small yard.  So, my needs are limited by that.

I tried using a trashcan with holes drilled in the bottom that I rolled periodically.  What happened with that.....  a RAT (from my crazy neighbor's yard) chewed a hole in the bottom.  I DO NOT want to have the crazy people's infestation on my property.

So...I gave up for a bit.

Then, I found bokashi composting.

After doing a lot of searching, I determined this was the method for us. Supposedly, bokashi can handle all types of food products, meat, dairy, vegetable...whatever, without paying attention to any green/brown ratio thing.

For the last 6 weeks, I have been collecting our family food products in large ziploc bags and putting them in the freezer.

And....here comes the fun part....I researched how to make my own bokashi composter.  And I made one!!!!

Here are all the steps....

I started with two buckets that I bought from my local home repair supply center. They cost me $5 each.

I drilled holes in the bottom of one.

Then I used some left-over screening to cover the bottom of it.
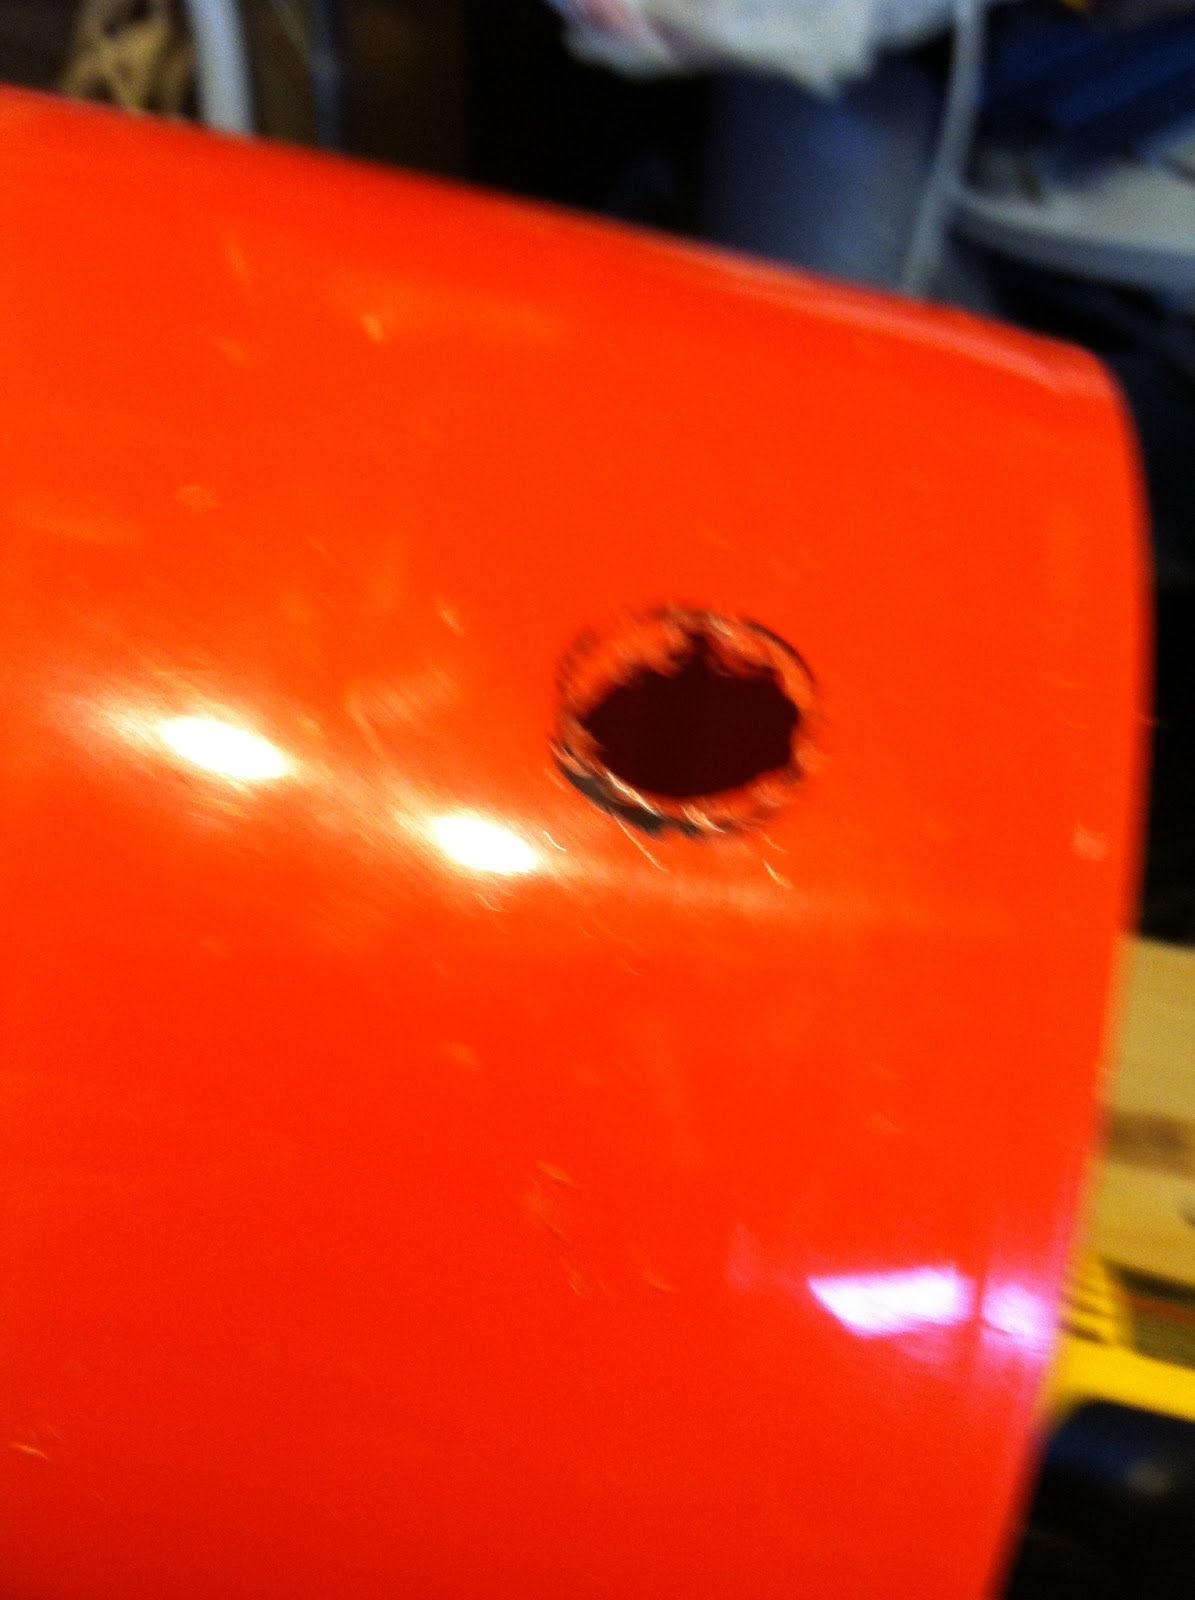
The big deal was adding a spout to the bottom of the 2nd barrel.  With a great deal of advice from my FIL plumber, I put a faucet into the 2nd barrel to drain the liquid. 

I drew a circle around the faucet that I intended to use. 

Then....because I didn't have a 3/4-inch drill bit, I drilled small holes and then used the bit to ream out the edge of the remaining bits...until the faucet/spigot fit.

Once it fit, I used a waterproof, silicone sealant to seal off the spigot.  I also used the sealant on the screw holes that held the spigot in place.  Once it was in, I also used the sealant on the inside openings to seal them off.

24 hours later... the bokashi composter was ready to use.
I took all the bags I had stashed in the freezer out.  I alternated each gallon bag with a handful of the Bokashi mixture.

 When I was done, with the 8 bags, this is what it looked like.
Then...because Bokashi is an anerobic process (ie, needs to have no oxygen), I put a kitchen trash bag over top.
 Then I carefully filled the top of the bag with water....creating a seal over the to-be-composted waste.


And lastly, I placed the lid over the whole thing.


Will update in a few weeks when the composting portion of the hopeful experiment is completed.


Thursday, February 14, 2013

Valentine's Day on the Cheap

This year, with our major efforts to simplify, my sweet husband and I decided to not buy gifts.  We don't need more "stuff" in the house or our lives.

I still wanted to do something to show him how much I care about him and value our life together.

So, I did a little research and came up with a meaningful, no-clutter gift.  I dug through our spare change around the house and found pennies with the years we were born, the year we met, the years the boys were born, the year we got engaged, and the year we got married.

I headed down to the basement work area and drilled a hole in the top of each one.  Then dug in the the junk drawer for a spare key ring and strung them on in order.

And now my sweet husband has an addition to his key ring.

He loves it.  No extra clutter. Cost me $0.07 and 45 minutes of time.  And my husband has a sweet token of our life.


Tonight for Valentine's dinner, I asked him to pick his favorite meal.  We are having chicken gyros that I found at The Girl Who Ate Everything.  They are fantastic and the preparation time is SO simple.

Woeful Wednesday???? - Not here!!!!

Some days, I think I have officially crossed the line into insanity.  Today was one of those days.

Typically on Wednesdays I host a stitch 'n bitch at my house.  LOVE the time with the girls.  The talk flows freely.  The advice overboils. The camaraderie is never-ending.

Today I had a 4-lb pork roast that needed to be dealt with or it would go the way of all bad pork roasts.  So, I got up early and made Brazilian Feijoda.  I'd never heard of it before I saw it in a Cooking Light. It's a crazy concoction of pork roast, ham hock (I had one left over from Christmas in the freezer), beef short ribs and black beans.  As I'm a HUGE slow cooker fan, and a HUGE Cooking Light fan, when I read it, it hit many nails on their heads.  You can check out the recipe here.

After I got it all assembled, I enjoyed several hours of stitching AND bitching.  When the last person left, the insanity ensued.

I worked on decluttering my magazine stash.  Historically I have had a hard time getting rid of things.  I think it's just the way I am hard-wired.  But last week, I started into the stash o'zines.  Last week I got rid of about 25.  I tear out what I want to save, put it in a binder, and recycle the magazine.  Today, I was a woman on a mission.  I went through another 20.

I also made 28 hand-made Valentine's for my little guy.

I purged the old shows from the TIVO.

I made homemade bread.

I started homemade yogurt (to be completed tomorrow).

And I did 10 LOADS OF LAUNDRY.

See....truly lost my mind and crossed over.

Sunday, February 10, 2013

Homemade bread

In starting on my journey to take my family to a new place of peace and enjoyment, one of the places I have looked to is Weekend Homesteader.  Weekend Homesteader January


While I do not want/need to test my soil because I am planning on putting in a raised-garden bed, I have decided that I would LOVE to be making more homemade bread.....IF I can find one that my 7 year-old will eat on a regular basis.

I am no stranger to making homemade bread.  I have done it with the traditional kneading method.  I have done the Artisan Bread in 5-minutes-a-day method.  I found some Peasant Bread on Pintrest. All have had success.  But none would I consider making my little-est's day-to-day sandwich bread from.  He LOVES them all warmed with butter, but in his mind (because I have warped him) sandwiches go on Strohman's Family Whole Grain bread.

Today, I decided to combine the Artisan Bread above with the dough rolling technique from The Simple Dollar's idea.

I have not yet tried it on the boy....BUT, the texture of the bread was very similar to the store-bought bread the boy loves.  And, my sweet husband and I both loved it heated lightly with some butter.  YUM.

Tomorrow will tell if it's "good enough" for a 7-year-old's sandwich. ;)